Like most things in life, you get what you pay for. With archery equipment, the same is true, but there are certain investments and shortcuts that can be made when buying beginners kit to save time and money in the long run.
With an overwhelming range of products on the market from manufacturers all around the world, it can be hard to figure out exactly where to start when buying your first recurve bow set-up.
TIPS TO GET STARTED
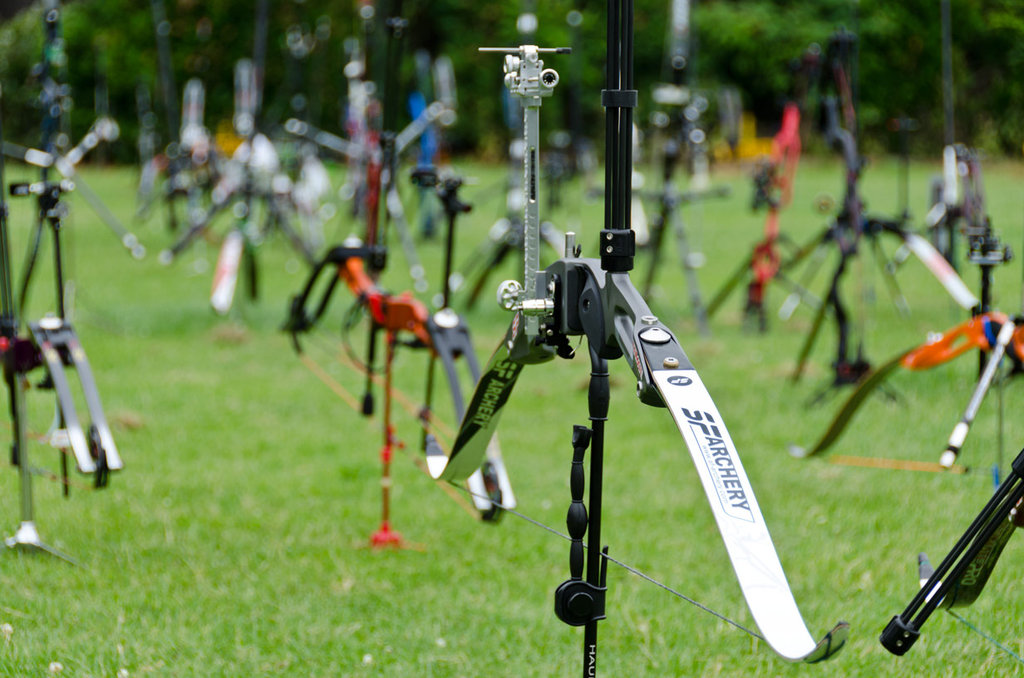
Work out exactly what you need: Shooting a basic recurve bow, like they use in the Olympics, requires a riser, limbs, string, rest, button, sight, stabilisation and other accessories.
Plan a budget for what you want to spend on the kit. (Prepare to ignore it when you arrive in the shop and something catches your eye.)
The best time to buy a first bow is a short while after completing a beginners course. You will have perfected your basic form and a coach can assess more accurately what kind of specifications you need for your equipment.
Change is the enemy of a consistent archer. Once you buy your own bow, you may find it takes a while to get used to it, so do not expect your scores to increase suddenly! (Although, it’s not unknown for people to make vast improvements straight away.)
Before you choose your bow, keep in mind your draw length and how that affects the equipment. The overall height of the recurve bow (in inches) should be roughly your draw length plus 40in. Standard setups usually range from 66in-72in, although there is more variety for youth archers.
RISER
This is the part of the bow you will want to invest the most into. The riser is the foundation from which the rest of the bow is built, and will last you for years to come.
Your budget will dictate the kind of risers you will be looking at – but if you are able to visit a shop in person, pick up and hold as many as you can, feel the weight and balance in your hand. Many shops will have a range and let you test risers out.
The riser can be made from lots of different materials, such as wood (the more traditional choice), metal or carbon. Each have their own benefits and pitfalls.
Wooden and carbon risers are both very light, needing extra stabilisation to balance, while aluminium risers are extremely rugged. Wooden bows have a limited choice, and are usually the choice of those preferring to shoot traditionally, while metal and carbon risers take advantage of modern technologies.
Typical attributes of a good riser are good balance, good hand placement, straightness (a twisted riser is not a good riser) and geometry – as its shape and weight will affect how the limbs bend, how the bow reacts when it’s shot and how well it aims.
LIMBS
For beginners, growth and development of the archer is an important point to consider in selection of limbs. Most available on the market fit the ILF system (fitting the green riser on the right, below), which works cross-brand, with exceptions including screw-in and the newer Hoyt Formula fitting.
You are likely to outgrow your first set of limbs within a few months – therefore, one common recommendation is to buy limbs on the cheaper end of the market. This means that once you outgrow the limb, you can get a new pair without breaking the bank, and won’t be left with a top-of-the-range piece of kit you’ll need to sell.
For your first set of limbs, choose a poundage (that’s the weight of the limb when you pull it back) that is similar or slightly heavier than used during your previous shooting. Most adults will use poundage ranging from 18-32.
Each brand and range of limbs will offer a different feel when shot. Some are snappy, some are soft – some use the latest in fibreglass or carbon fibre technology, some are layered with foam and many, still, use wooden cores, often bamboo. Limb choice is a very personal thing.
Many shops offer a rental scheme for beginner limbs, which is an excellent option.


