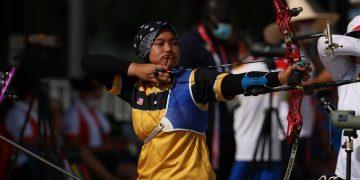
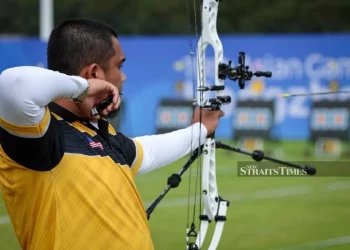
The bow grip is one of the most important parts of your technique. The grip position directly influences the direction of the bow and shot, with the pressure from the bow hand giving torque to the riser.
Some beginners stretch the bow hand to prevent themselves from gripping the bow after the arrow has been released. However, this creates tension in the bow hand, which has a negative impact on the shot.
Young archers, who have a small hand or whose hand tends to slip in the bow should attach sand paper into the grip to give greater friction, rather than a tennis wrap.
Goal
- PROPER GRIP PRESSURE POINT
- GOOD ANGLE OF BOW HAND
- RELAXED BOW FINGERS
- PREVENT HAND FROM MOVING AFTER INITIAL SET UP
Preparation
To achieve a proper bow grip position is it essential to use a finger sling. Beginners should use a finger sling as soon as they start learning archery.
Step-by-step
- Put on finger sling.
- Place the grip in the bow hand as shown in illustration 1, aligning the grip down the centre of the area between thumb and index finger.
- Place the bow grip on the inner part of the life line (the blue area, illustration 2), try to avoid touching the outer part of the palm of the hand (red area, illustration 2) on the bow grip.
- Relax and slightly curl the bow hand fingers. The angle of the bow fingers should be between 35 to 45 degrees ( illustration 3). Try to avoid touching the ring and little finger to the front part of the bow.
- Try to imagine the pressure distributed 60% on the pad below the thumb and 40% on the index finger.
- The thumb should be almost horizontal and aimed towards the target, while the wrist should be directly behind the pressure point on the grip.
Coach Kyeong Su Jeoung’s tips will continue throughout the year.
For more information on courses and coaching at the World Archery Excellence Centre, contact staff at info@worldarcherycentre.org


